Making arrows in the forest is a skill that has been passed down from generation to generation. It is an important skill for hunters, survivalists, and anyone who wants to experience the satisfaction of creating their own tools.
In this guide, we will walk you through the process of How to make arrows in the forest, from selecting the right materials to crafting the perfect arrowhead.
By the end of this guide, you will have the skills and knowledge necessary to make your own arrows and take your outdoor adventures to the next level.
Choosing the Right Wood
The first step in making arrows is choosing the right wood. The most commonly used woods for arrows are birch, cedar, and spruce. These woods are lightweight, strong, and flexible, making them ideal for arrow making.

Look for straight, uniform branches that are about as thick as your little finger. Avoid branches with knots or other imperfections, as they can weaken the arrow.
If you’re a beginner, it’s recommended to start with a softer wood like cedar or poplar, as they are easier to work with and forgiving of mistakes.
For more experienced archers, birch and pine can offer better stiffness and durability, although they may require more skill and experience to shape and straighten.
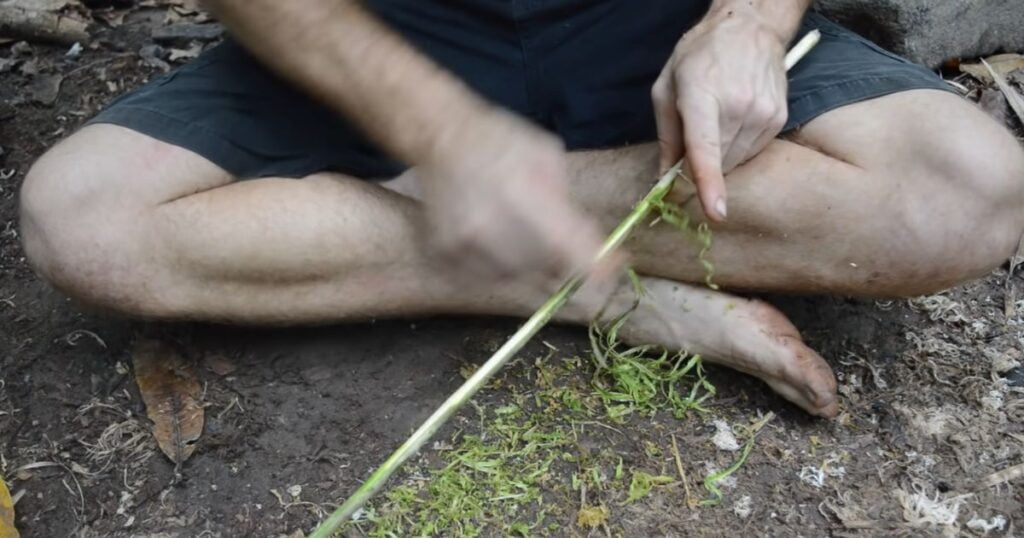
Cutting the Wood
Once you have selected your wood, it’s time to cut it to length. A standard arrow is around 28 inches long, but you can adjust the length to suit your needs.
Use a saw to cut the branch to the desired length, making sure to cut it as straight as possible. Next, Peel off the bar using your fingernails, as otherwise, the arrow might break if you damage the surface with a knife.
Shaping the Shaft
Now that you have a straight, bare branch, it’s time to shape it into an arrow shaft. Use a rasp or sandpaper to remove any rough spots or bumps, and then taper the ends of the shaft so that they are slightly thinner than the middle. This will help the arrow to fly straighter.
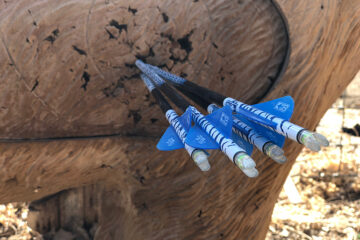
Adding Fletching
Fletching is the term for the feathers or other materials that are attached to the back of the arrow to stabilize it in flight. Traditionally, arrows were fletched with three feathers, but you can use more or less depending on your preference.
To attach the feathers, first, make sure they are all the same length. Then, use a knife to make a small notch at each end of the arrow, and insert the feathers into the notches.
Use sinew or thread to tie the feathers in place, and make sure they are centred on the arrow.
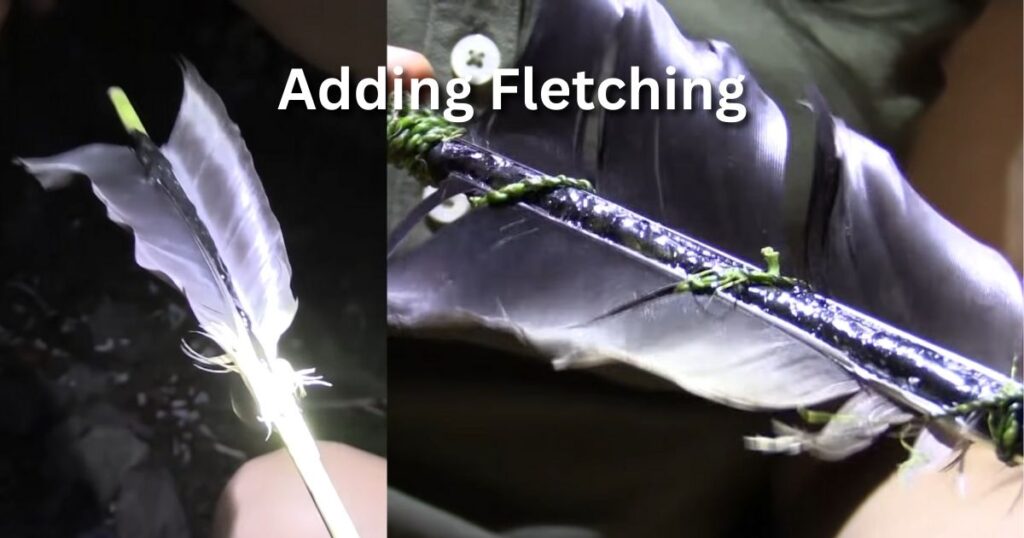
Alternatively, you can use glue to attach the fletching to the arrow. Apply a small amount of glue to the base of each feather and carefully press it onto the arrow.
Make sure the feather is positioned correctly before the glue dries. You can use a fletching jig to ensure that the feathers are spaced evenly and positioned at the correct angle.
Once the glue has dried, trim the excess feather material with a sharp knife or scissors to achieve the desired shape and length.
Fletching is an important aspect of arrow construction that can greatly impact the accuracy and stability of your shots, so take your time and make sure you do it right.
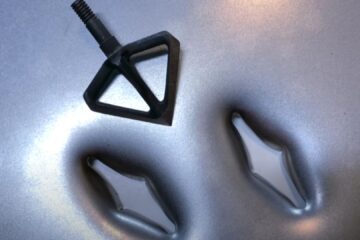
Crafting the Arrowhead
The arrowhead is the most important part of the arrow, as it is what actually does the work of piercing the target. There are many different materials you can use to make arrowheads, including flint, obsidian, and metal.
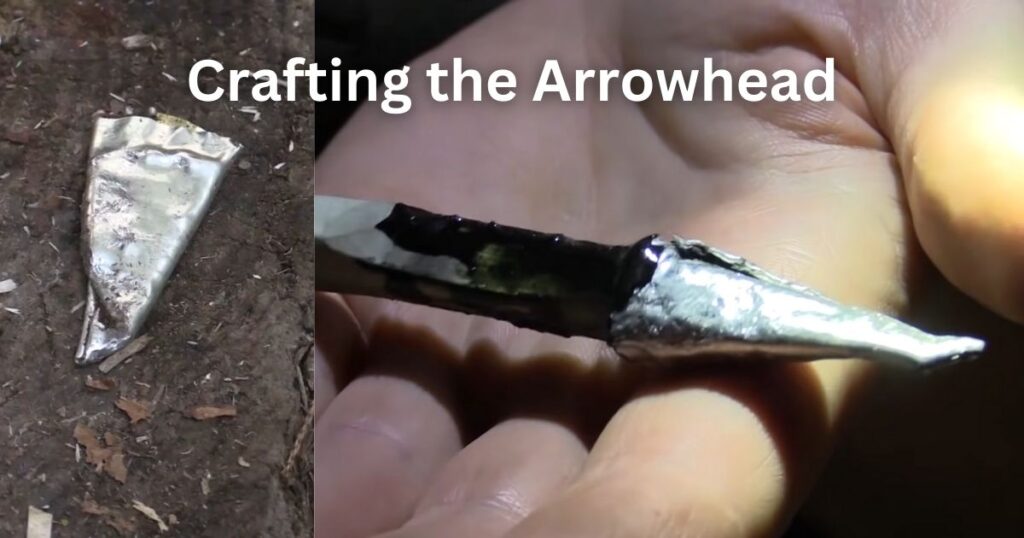
In the forest, you can make arrowheads out of bone or stone or an old tin can. Use a hammerstone or other tool to carefully shape an old tin can or bone or stone into a sharp point, and then attach it to the front of the arrow with glue or sinew, or thread.
Adding a Nock
The nock is the groove at the back of the arrow that holds it in place on the bowstring. To make a nock, use a knife or saw to make a small notch at the back of the arrow, being careful not to cut too deep.
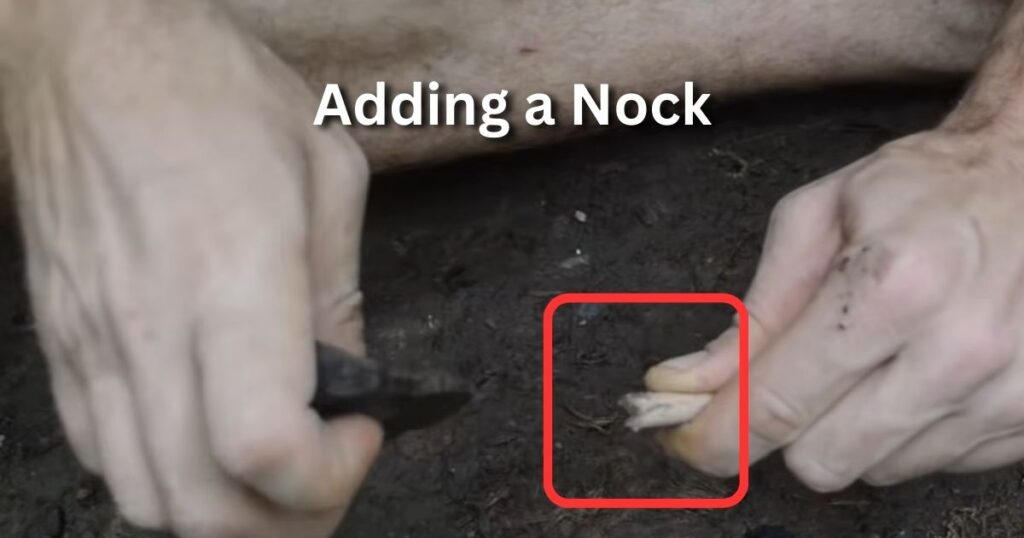
The nock should be wide enough to fit snugly on the bowstring, but not so wide that it falls off.
Testing and Adjusting
Once you have made your arrow, it’s time to test it out. Find a safe place to shoot your arrow, such as a target or a tree, and take aim. If your arrow flies straight and true, congratulations

Maintaining Your Arrows
Proper maintenance of your arrows is important to ensure their longevity and performance. After each use, be sure to inspect your arrows for any damage or signs of wear. Replace any damaged arrows immediately.
Store your arrows in a cool, dry place, away from direct sunlight and moisture. Avoid storing them in extreme temperatures or humid conditions, as this can cause the wood to warp or rot.
In addition, it’s important to keep your arrows clean and free of debris. Use a soft cloth or brush to remove any dirt or dust that may have accumulated on the shaft or nock.
Conclusion of How to Make Arrows in the Forest
Making your own arrows can be a fun and rewarding experience for archers of all skill levels. By following the steps outlined in this article, you can create custom arrows that are tailored to your specific needs and preferences.
Remember to select the right wood, cut and shape your arrow shaft, install the nock and arrowhead, and properly maintain your arrows to ensure their longevity and performance.
FAQ
Q1: What type of wood is best for arrow shafts?
A1: The best type of wood for arrow shafts depends on your skill level and personal preferences. Some popular options include cedar, birch, poplar, and pine.
Q2: Can I make arrows without any specialized tools?
A2: While specialized tools can make the process easier, it is possible to make arrows with just a saw, sandpaper, and a wood file.